
Best Resolve to YouTube Export Settings
Render DaVinci Resolve Masters for YouTube
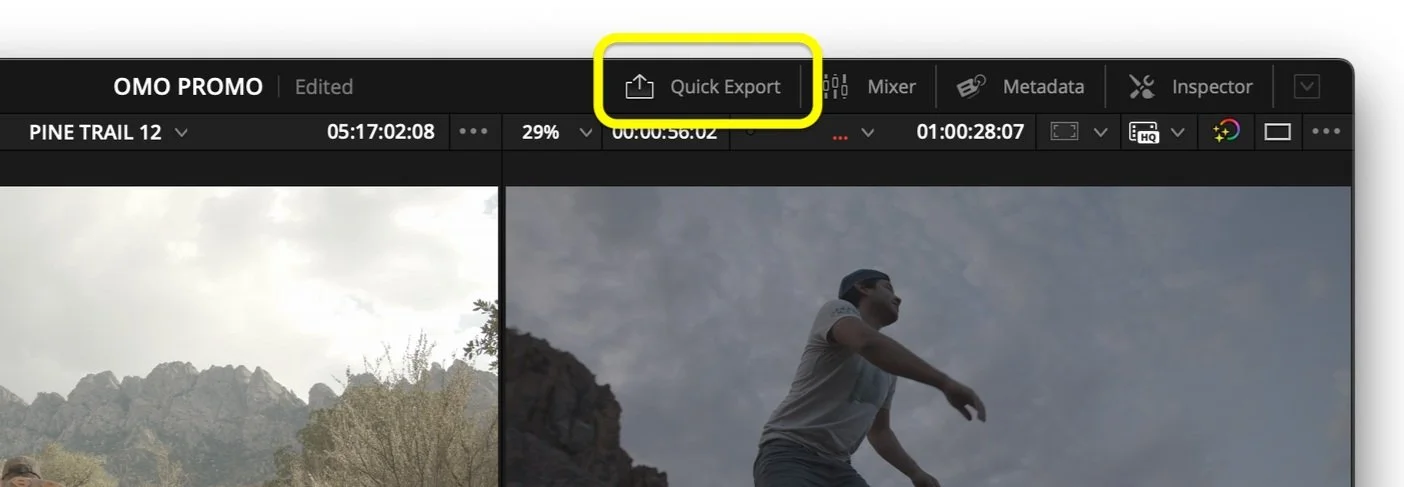
In DaVinci Resolve 19 - the Cut, Color, and Edit pages all have a handy button in the upper right to quickly export your timeline using several useful presets. They work, but they won’t always look the best.
And what if you spend a lot of time working on a video? Do you want it to look THE BEST IT CAN with THE SMALLEST file size for uploading to YouTube (even after YouTube Runs its own compression)? Today, I’m teaching you how to create an export preset and a few other compression and resolution concepts you need to know.
Timeline Resolution
Timeline resolution is the boss in DaVinci Resolve. Lowering it can help playback, but lowering it limits the pixels that can be rendered for delivery on export. For YouTube to create a compressed video with better quality VP9 codec, you must export at least a 1440p video. But honestly, it’s easier to use the standard 3840x2160 that has become commonplace for so many cameras. UHD or 3840x2160 is what I suggest for exporting to YouTube, regardless of how it was shot.
This means that before hitting any export button, change the timeline resolution to 3840x2160, even if you have defaults to edit it to 1920x1080. This can be achieved by changing the project settings as a whole or individually unchecking a timeline settings “use project settings” checkbox and changing this to an individual timeline in the media pool.
Output Color Space
Have you ever heard of the dreaded “Quicktime gamma shift” problem? This has everything to do with the NCLC metadata tags embedded in a QuickTime file. YouTube expects a standard Rec. 709 tagged file; the correct NCLC tags for Rec 709 are 1-1-1. The middle “1” refers to the gamma, which often trip up users editing with Rec 709 2.4 as their calibrated display because the output is not marked as “1” for gamma 2.4.
The simplest solution here is on the delivery page to explicitly set the gamma in the advanced settings to Rec 709 or Rec 709-A. These metadata tags place a “1” to create a 1-1-1 set of metadata.
In addition, under the project color management settings, setting the output color space to Rec 709 (scene) or Rec 709-A will also produce a 1-1-1 set of tags.
Subtitles
DaVinci Resolve Studio, the paid version, can listen to your video and “create subtitles from audio” under the timeline menu. You can also right-click to create a subtitle track and manually type in subtitles. Either way, both methods will allow you to export an “.SRT without formatting” file that can be uploaded in the YouTube upload dialogue box. You can right-click the subtitle track header area to export only the SRT text file or include it in the render settings at the bottom of this blog post.
One extra important thing about subtitles for them to synchronize correctly in the QuickTime file is to change the starting timecode to zero instead of the default of one hour.
Chapter Markers
One of my favorite additions YouTube has made over the last few years is the ability to place chapter markers or timestamps on long videos. These timestamps allow you to take a big topic and break it into manageable chunks for viewers to navigate and reference sections easily.
To use chapter markers, place timeline markers on your timeline. The name field is the text that will be converted for use on the output markers. You can place a timeline marker by tapping M once to create the marker and then tapping M again to call up the dialogue box to name it.
To load this marker information into YouTube, you need to export one of 2 different timeline files to convert the formatting and then copy and paste it into the YouTube description. One file type that works well is right-clicking on the timeline in the media pool and “export timeline markers to EDL.” This EDL file can load into Bill Justice's website, which has a converter built just for this task found here.
Another method to export is to export a timeline OTIO file and use the “Creator’s Best Friend” application from Intelligent Assistance, a paid app from the Mac app store. More about that here.
Render Settings
The deliver page render settings are self-explanitory (I have posted a screen grab of those below), but I will highlight some major specifics that have mattered to me.
H.265 is my jam if you have an M1 or newer computer with hardware acceleration for video.
Remember, timeline resolution is the boss before you go to the deliver page. 3840x2160 is ideal.
Chapters from Markers on this page will be embedded into the QuickTime file, perfect for navigating QuickTime or re-loading into DaVinci Resolve. This checkbox does not add timestamps to the YouTube file after uploading. That must be done by copying and pasting from the EDL or OTIO metadata.
The bit rate set to 80,000kbps is plenty high for just about any content. This is what determines file size. If you need a smaller file, turn this down at the expense of quality.
I disabled frame reordering because of a weird QuickTime player glitch when rendering with Apple hardware acceleration turned on. I understand this does not create B frames, so every frame is visible as I step through on QuickTime player.
Set the gamma tag to 709 to ensure a 1-1-1 tag is set in the file, regardless of the project settings.
Finally, export the subtitles as an SRT without formatting them for the subtitle track of your choosing.
