Blackmagic Fusion Render Farm Setup Tutorial
Blackmagic Fusion’s Free Render Nodes
If you own DaVinci Resolve Studio - you also own a license to Fusion Studio - It’s an entirely underused - Free Gift From Blackmagic. And that’s because Fusion Studio includes unlimited Render Nodes. So today, I’d like to show you how I setup a “free render farm” at my home office, combining a 2015 iMac along with 3 apple silicon computers to render VFX shots faster! I’ll demo the use of an off the shelf Blackmagic Cloud Pod with a Samsung SSD as my shared network storage and finish with a blackmagic proxy to cloud workflow for remote editors to rough in the shots.
To make this work you’ll need:
A single license of resolve studio, from blackmagicdesign.com/support
Multiple computers on the same network, ideally all wired in with ethernet
Shared storage, for both reading and writing - you can turn on filesharing - in mac sharing for a local attached ssd - but let me show you how simple using the cloud pod is to use instead.
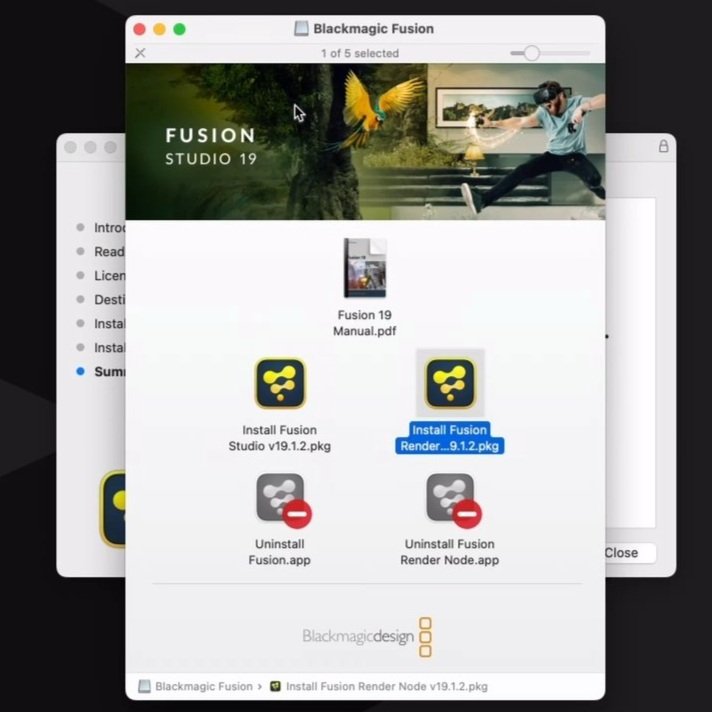
The standalone fusion studio installer - install fusion on the same machine that has your resolve studio license, and the render node install on your extra computers.
Use image sequences instead of video files - we are going to use the built-in render manager to allocate different frames to different computers to complete the render of a single shot. The M4 might cook out frame 1; then the M1Max might cook frame 2, and so on…
This website - https://www.blackmagicdesign.com/products/fusion Has a demo project file that i’ll use to show off how much faster this can work.
Install the Render node application on all computers you’d like to use and run the app quietly in the background. I also add the render node to the login items. Install the same fonts, plugins, etc…
Render Manager
Open Fusion Studio on your main workstation and then open the render manager. Shortcut command M to open and close. This is the “traffic cop” - figuring out what frame to send to what machine. Or if you have a list of several comps, how to prioritize what gets done next.
Use the all group.
Scan the network for enabled render nodes with a right-click. But make sure the same storage is mounted on all computers.
Fusion Studio works on a single shot at a time, and since there is no delivery page, it renders with a saver tool. All that’s needed to render a composite out is to hit the render button below the timeline ruler and the render settings dialog box will pop up.
Check the settings checkbox to use the network.
The first time, you’ll need to allow permission to access the storage with the render node application on the remote computer.
Relative Saver Directory
By simply typing comp:/ - you can avoid using absolute file paths that are hard coded to an existing storage volume. Instead, consider using the relative path string indicated by comp:/renders/shotfoldergoeshere/shotgoeshere_.exr
But you can get fancy and use a period to navigate up and back a directory level too! The .. tells Fusion to go up two levels of the directory from the location of the comp file.
comp:/../renders/SpaceShip_v13/SpaceShip_v13_.dpx
Forward slashes are for Mac, Backslashes for Windows
Time Savings
Some results I found with the preview version of the spaceship comp rending to the Blackmagic cloud pod with a Samsung T7 SSD attached:
all 4 computers - 2:31
with 3 computers - 2:51
with 2 computers, 3:48
just M2 Max single computer - 5:57
Tip - Change comp duration to loader duration
Fusion Studio always starts comps with a default duration that you can specify, but most of the time you deal with real footage that all has a different number of frames. To automatically have the Fusion comp duration match your background plate duration -
You can also Shift-Drag the tool to the timeruler to auto-set the render range.
That will automatically set Global In/Out and Render In/Out.
Resolve Cloud Proxy from Image Sequence
The Blackmagic Cloud Pod is built with 2 big goals in mind. One is to work as an in-network local NAS, network-attached storage, and the other is to sync files to a cloud provider. However in the more recent versions of DaVinci Resolve, the new Blackmagic Cloud Storage feature has simplified this for everyone, even if you don’t have a Cloud Pod or Cloud Store to sync files to the cloud.
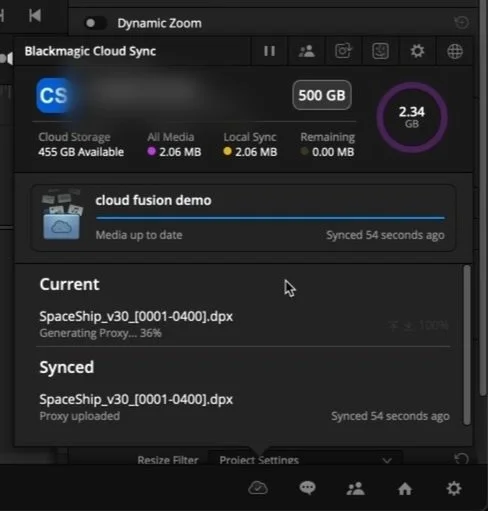
I vote to just use DaVinci Resolve to take care of the proxy creation and the syncing process up to the dedicated Blackmagic Cloud Storage. An important thing to note is not to try syncing with the Cloud Pod or Store AND the internal Resolve Cloud Sync function. Just choose one or the other. Sync with the box, or Sync with Resolve.


