
Control Point Tracking in DaVinci Resolve Fusion
Single-point tracking in DaVinci Resolve Fusion is great because the results are completely controllable. So let’s learn how to track, even when patterns go offscreen or behind objects, using a simple text callout graphic. As a bonus, at the end, you can discover how to separate tracked fusion graphics from the footage so you can freely color-correct footage on the color page later without using compound clips.
Launching Cutting Club

Download raw footage elements to follow along with the free YouTube tutorials.
Color Management for Fusion
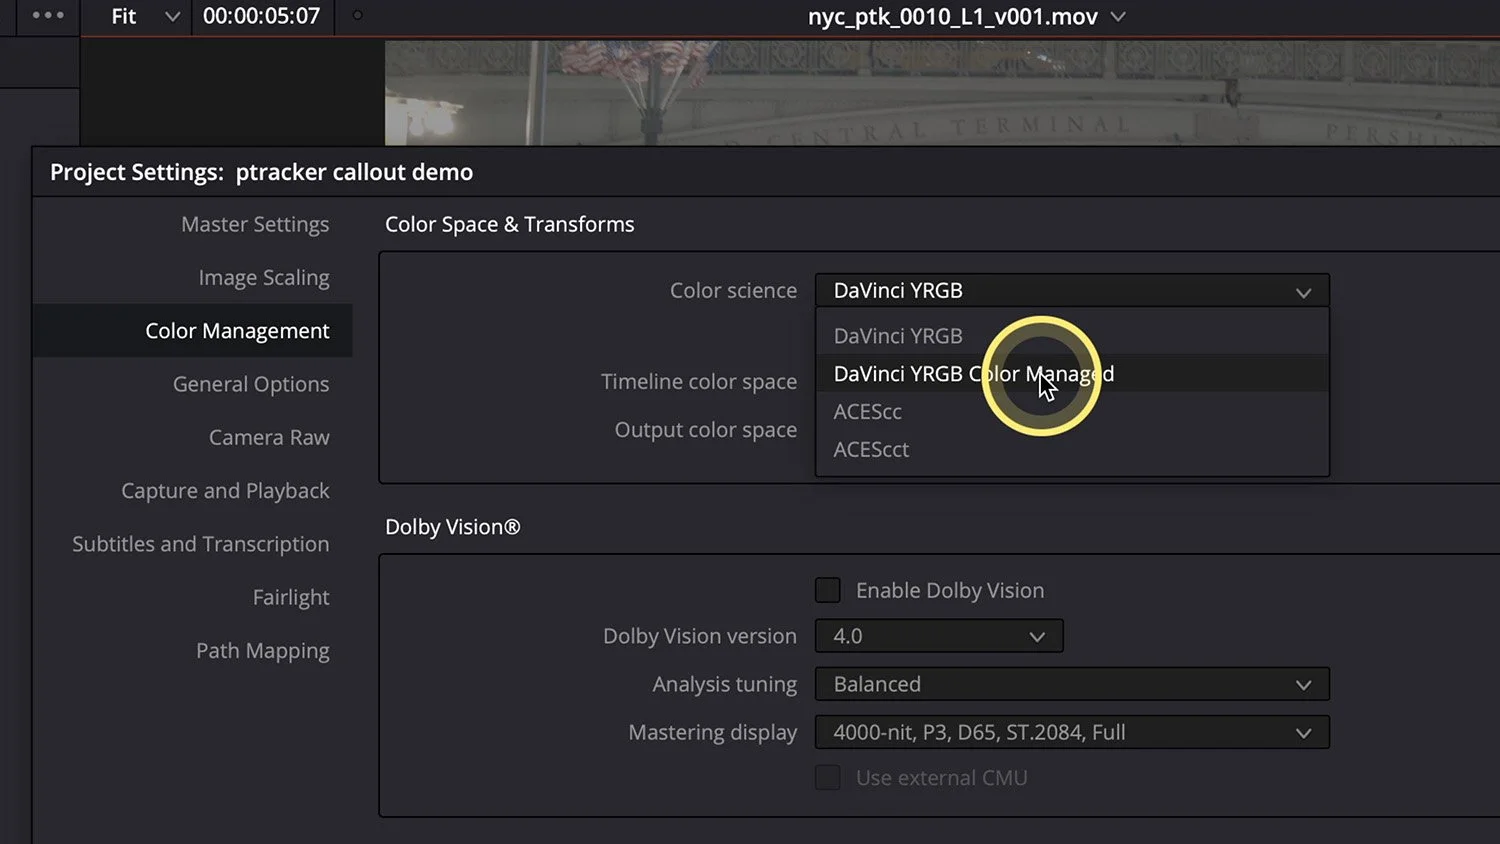
The simplest way to start working in linear light space (gamma) in Fusion is to enable DaVinci color management (scene referred). This can be turned on for the entire project in the project settings - Color management, under the color science dropdown. Compositing in linear ensures that all transforms and effects behave similarly for how light physically works in the real world. Without linear gamma or no gamma - it’s just wrong. Maybe not obviously wrong from a wider view, but down to the pixel level, it is very problematic.
Assign non-raw clips manually by right-clicking on them in the media pool and choosing the correct input color space for how that footage was captured. On this channel, it will typically always be Blackmagic Design Film Gen 5 or Sony S-Log 3 S-Gamut3.cine.
How to Use the Point Tracker in Fusion
Type shift-space to pull up the Fusion tools list and type “TRA” to pull up the standard point tracker and add it to the flow.
Find a frame with a small, unique pattern that is high contrast and sharp.
Move the upper left corner of the pattern box over the pattern you would like to track.
Size the pattern up or, usually, down to just around the pixels you want to follow.
Adjust the outer search box based on how much movement is in the object and the direction. Up and down movement should have a taller box. The Left and right movements should have a wider box.
Load the tracker node into the viewer to see the results as it tracks.
Run the tracker from the current position to the end and then back to the beginning, hitting escape to stop the track if it goes crazy on you.
Fixing Tracking Data
Manually move points that are off by moving the center point of the motion path.
Or, Better yet, delete bad tracking points from the LAST GOOD FRAME using the Fusion spline editor.
For occlusions, move the play head to the frame so you can see the tracking pattern again, and move the upper left pattern box over your target to track from that point onward.
To continue the motion path offscreen, right-click the spline editor to turn on GRADIENT EXTRAPOLATION.
Connect to Tracker Offset Position for Text Callouts
Use a new MERGE node off to the side of your original tracking flow from your source footage with the footage going into the background.
Composite any foreground element you like (text is just one example) into the green foreground input of the merge.
Right-click the CENTER parameter on the MERGE node (this affects only the green foreground element. And choose to “Connect to - Tracker 1 - Offset Position”.
Finally - adjust the offset back in the tracker. Click the tracker tool. In the upper-left of the viewer there is a button to change the off-set on screen. Click the button, so its blue and drag the center point to where you’d like to offset the center point of the tracked position. The offset will maintain this new position that is now published in the merge node.
Separate Fusion Graphics with Transparency
Channel Booleans set to Clear
Duplicate clips on the edit page timeline with and Option/Alt Shift space drag up a layer.
V1 is for color, V2 is for graphics.
Reset V1’s fusion composition to remove any graphic layers and color correct on V1
V2 has the Fusion graphics but needs the background “cleared” out.
Add a Channel Booleans tool after your media in, but before the merge tool and change the operation to Clear.
Contact me for more info. I provide one on one training and love teaching all things related to post production workflow.