
The Best Proxy Format for Resolve
For 14 years, I’ve made 1080p ProRes Proxy, or Avid DNX36, a no-questions-asked default to make video editing smoother. However, as of this week, I’m switching to using 1080p H.265 proxies made with the Blackmagic Proxy Generator app to cut 4K, 6K, and 8 K. Using the Proxy Generator App, which can run in the background, is SUPER simple.
Just add a folder with footage that needs proxies.
Choose H.265 from the format section
And hit start.
But why have I decided to make this crazy switch away from the industry-standard ProRes format? And what the heck is a proxy? Let me explain, and maybe you’ll try H.265 proxies, too.
What is a Proxy?
So, what the heck is a Proxy, and why make them? Well… it’s a smaller file—in both size and resolution. Proxies are also made with a codec that’s easier to decode. In other words, these edit-friendly proxy files are dailies in the US, rushes in England, or, as some tech nerds call them, mezzanine files. Typically, the compression is intraframe (also called an I frame or spatial), which is a fancy way of saying that you don’t need data from frames around the frame you are looking at. The frame stands alone. Believe it or not, everything you watch on Netflix is edited using a proxy file. But the reason Netflix shows look so good is that when they’re finally rendered to 4K for us at home, the stand-in “proxy” files are replaced for high-resolution, color-graded camera originals. Matching timecode and filenames makes swapping back to the originals a simple button press in DaVinci Resolve.

H.265 Reason 1 - File Size
Because the data rate is 5mpbs, I can make H.265 proxy files 38 times smaller than the original camera files. So - Regardless of the camera used, I can work with video files that take up only 2-3 gigabytes per hour of footage. In contrast, ProRes Proxy and Avid’s Dnx36 have been the standard formats for almost as long as I’ve been professionally editing. The 36 in Dnx36 stands for 36 megabits per second. They edit great, but an hour of footage with either of these classic offline editing codecs is around 16 gigabytes.
These tiny file sizes are ideal when you consider the high price of cloud storage and the necessity of uploading and downloading files when collaborating remotely with DaVinci Resolve. You could easily put 200 hours of h265 proxy in the 500gb blackmagic cloud storage plan.
H.265 Reason 2 - Quality
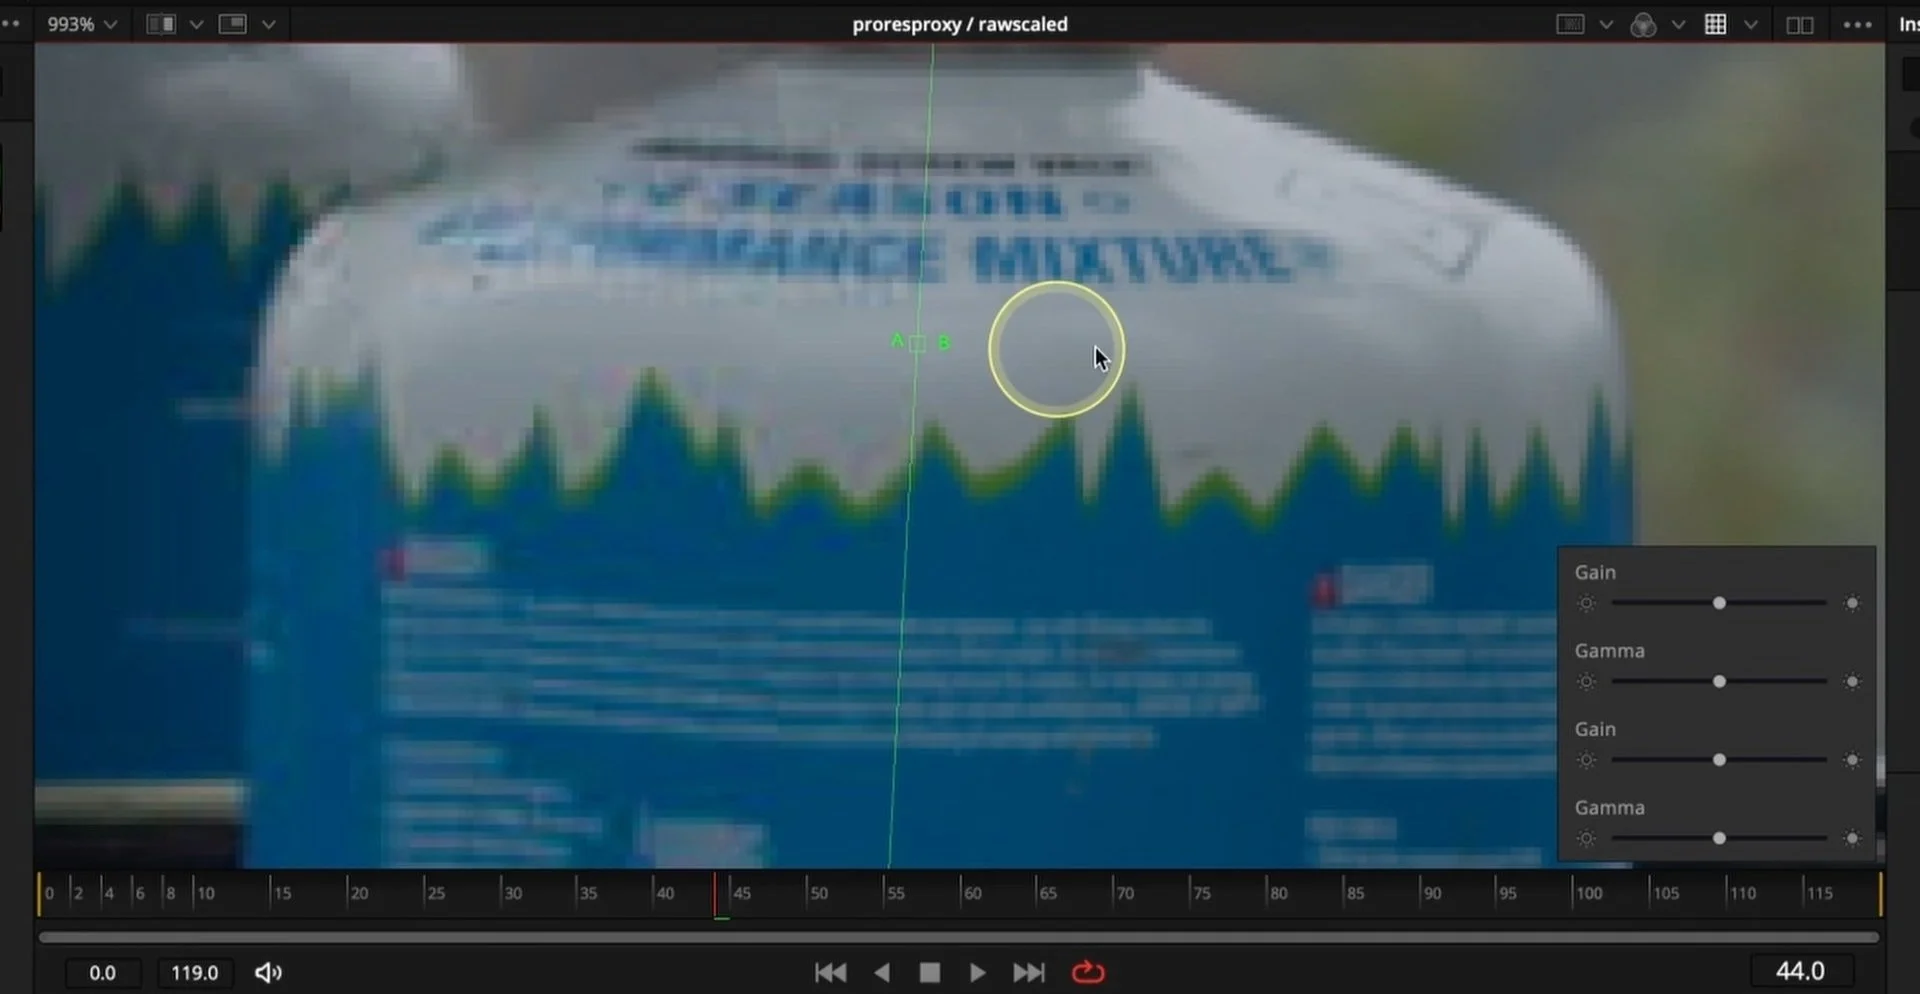
Even though the Blackmagic Proxy Generator says ProRes on a mac, if you choose this option it creates ProRes Proxy files and in the last few years as I’ve started doing more commercial finishing that starts with the low res proxy footage - its easy to see in Fusion how blocky a ProRes Proxy file actually is.
In this green screen example you can see the original key without adjustment, the H.265, and the ProRes Proxy. For sure the H.265 file will give a much cleaner temporary result for the client to sign off.
While we are in Fusion, here is an example of the H.264 proxy file compared against a Blackmagic raw file, a ProRes Proxy, and H.265. You’ll notice there are also fewer artifacts than in H.264.
H.265 Reason 3 - Performance
This reason comes with the caveat that I’m using an M2 Max Studio computer. However all Apple silicon come with a special media engine that helps to encoded and decode H.265 footage. This never existed on Macs until the M1 machines came out. DaVinci Resolve takes full use of this hardware. If you’re on windows, you’ll just have to test for yourself. But to my huge surprise and the reason I stayed away from H.265 until now is I never bothered to test this against ProRes Proxy.
I dropped my recent canoe trip with around 100 minutes of footage and compared the editing and playhead feel between a timeline full of ProRes Proxy and H.265 and I couldn’t tell the difference. I also staked up clips like a multicam using the video collage effect and no difference there either. H.265 passed my performance pepsi challenge.
So it’s smaller, better quality, and performs the same as ProRes Proxy (which, it goes without saying, is much better than any high-resolution original camera footage).
How do I use it?
There’s at least five methods for making proxies with black magic and resolve tools, but I’m just going to show you my favorite. When you install DaVinci Resolve a sidecar app called Blackmagic proxy generator is also installed in the applications folder. After you’ve copied footage from a camera card to your hard drive, add the footage folder, choose the H.265 format, and start. After it’s done, stop the service, and you should see a new folder called Proxy at the same location as the rest of the files. The files inside are quicktimes with timecode and matching filenames. Even though the app says 1080p, it will actually maintain the source aspect ratio, which is exactly what you want for all the resolution independence across resolve. It makes swapping files seamless.
One more bonus tip about using the Blackmagic proxy generator is if you have a NAS or a Blackmagic cloud store - multiple computers can process the same folder of footage at the same time, passing one file to one machine and vice versa to batch transcode faster. Oh and if you make use of phone footage, most of which actual shoot a variable frame rate - this tool outputs a constant frame rate which is perfect for post production.
To use these files in DaVinci Resolve with the Preferred Proxy workflow, import the camera originals first. And only import the camera originals. I like to drag them in from a finder window. Resolve will see the Proxy folder on the hard drive, making swapping them as simple as choosing this button in the timeline viewer.
You do not import the proxy files separately to Resolve.
When you render out from the deliver page, Resolve will always use the original-quality footage as long as it is plugged in and you didn’t check the use proxies checkbox in the render settings. You don’t need to change the playback view. It's no problem if you want to easily send the proxies to a remote editor across the country and not even manage any extra hard drive folders.
In a cloud library project, choose to sync proxies only in the project settings. Only the proxies get sent, and when the remote editor opens the resolve project in another city, only the proxies will download and not fill up the remote editor’s hard drive. You can tell if you have only proxies with the purple bar on the timeline.
Bonus Tips
For the ultimate Resolve playback experience on any computer, I recommend setting the timeline setting to 1080p for editing and then changing it to the full source resolution of your footage right before going to the deliver page. One word of caution: If you are using a Project in a cloud database, Resolve defaults to automatically creating proxies. I will uncheck this project setting option before loading any footage if you use the proxy generator app since we are making proxies outside of resolve.