
Track Destination Control in DaVinci Resolve
Learn how to patch a source clip to the timeline track of your choosing for 3-point editing using the track destination controls in DaVinci Resolve 17. It helps you edit faster and more accurately, so what's not to like?
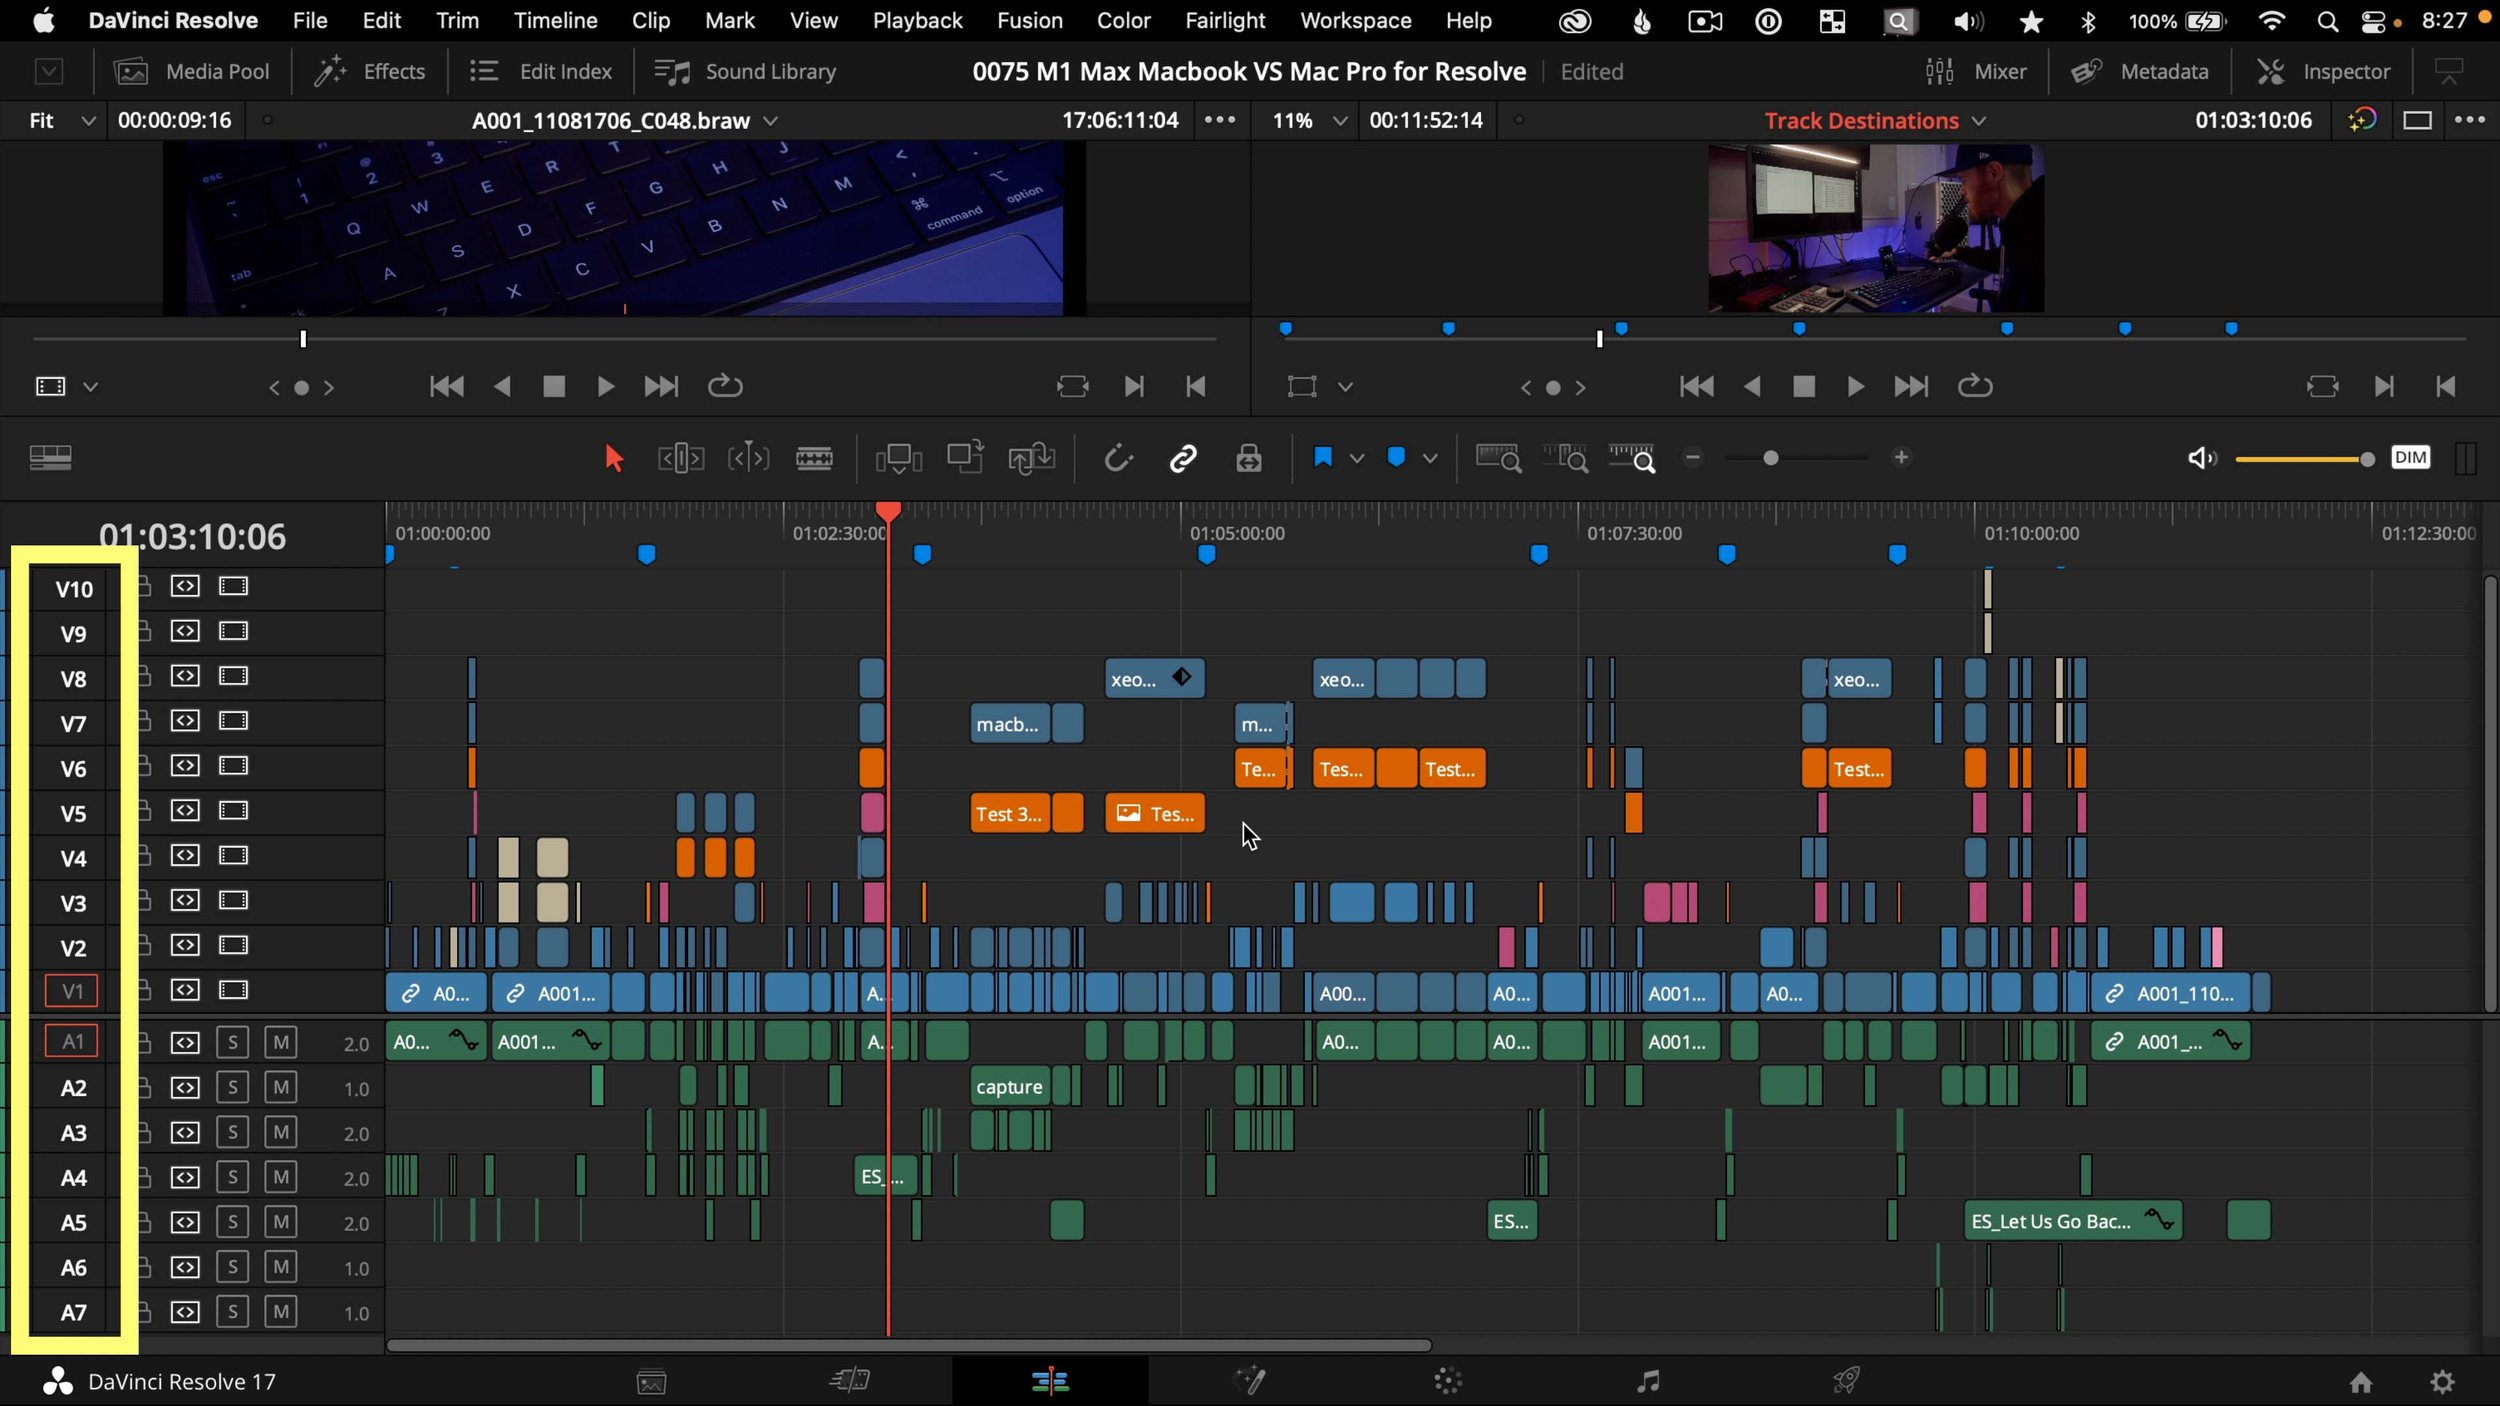
Have you ever noticed this orange box in the track header section of your DaVinci Resolve timeline? It's not quite the same as anything in Premiere or Avid, and Final Cut Pro doesn't even have tracks. So you might be wondering. What the heck does this thing do?
It's a powerful OPTION to precisely COMMAND the destination of your clips from the source monitor to the timeline using commands like insert and overwrite edit. These track destination controls are essential to understand if you want to cut with your keyboard to speed up your editing process but don't worry. They're super simple basic controls.
The orange outlined box is called the track destination selection, and one of the most significant ways this differs if you're coming from Adobe Premiere is that this ONLY SERVES ONE FUNCTION.
That one function gives you the OPTION to COMMAND or CONTROL your destination of a clip from the source viewer to the timeline without needing to do a drag and drop edit with your mouse. Sorry for the keyboard shortcut modifier puns. They ARE intended, so stay tuned toward the end of this tutorial if you like shortcuts.
And just so you know, this orange destination box has nothing to do with copy and pasting to specific tracks. That's one of the functions of the auto track selector button. I have a great video here - https://youtu.be/XokE4rytApI if you want to demystify that control.
Thankfully, the orange destination box is much more straightforward.
What does Track Destination do?
Source clips will end up on whatever tracks have the orange outline visible.
By default, it will be on V1 and A1 if you have video and audio in your source clip. But if your clip only has audio, you won't see an orange box on a video track because no video exists on that source audio clip.
Let's do an insert edit targeted to V1 and A1 by dragging a clip with in and out marks from the source viewer to the timeline viewer.
As you drag, an overlay will appear with the edit commands visible, so let's drop it on insert. Insert pushes clips down to the right and out of the way "to get IN there." Insert will make your overall timeline longer.
But if you want your clip to go on video track two and your audio to A2, just click V2 and A2 with your mouse. It will confusingly change to say V1 and A1 because it refers to the source track numbers.
And this time, let's do an overwrite edit by marking the range on the timeline with an in and out point for where we want the clip to be restrained to and then clicking the overwrite icon in the tool list.
Overwrite WILL NOT change your timeline length and is a great way to restrict how much of a clip is going onto a timeline you have already rough cut together. I like it for B-Roll cutaways and titles.
Edit only Video or Audio or Specific Channels of Audio
The other thing about track destination selection is that you can limit what tracks you want to put on the timeline from the source clip. Maybe you just want video, or audio, or even just some SPECIFIC AUDIO TRACKS from a multichannel recording.
If you don't want part of a clip to end up on a timeline track, click the orange box, and it will change to be filled in with grey, which means it's disabled and won't add that part of the source clip onto the timeline.

An everyday use for doing this would be with a B-Roll clip that you don't want the lousy camera audio on the timeline. Click the orange box around the audio track until it is filled with grey.
Mark your timeline using I for in point and O for outpoint.
And this time, use the keyboard shortcut F10 to perform an overwrite edit without using the mouse. Only the video portion of the B-Roll ends up on the timeline, which can save you time from not needing to delete the bad audio later on.
Note though if you're on a Mac, make sure you have checked the box to enable Function keys to work as standard keys in the system preferences, keyboard. Otherwise, F10 might not work as expected.

The drag and drop equivalent of this would be an option drag for video only. Or a shift drag for audio-only. But you can't precisely constrain a drag and drop edit, so that's why I prefer using insert and overwrite with in and out points on the timeline.
The one gotcha is to make sure the track you want to edit is not locked with the lock track icon. I rarely use the lock track feature in the track header, but this would prevent any changes, especially editing a clip onto that specific locked track.
Keyboard Shortcuts
Track destination selection can be found near the bottom of the timeline menu, and this will show you all the keyboard shortcuts. But if you just learn one shortcut tip today, it should be command, control on a pc with shift and your up and down arrows to move your video destination up and down. Command with option, and your up and down arrows will move your audio destinations up and down.
So it's either using shift or option with the command key. It's easy to remember to use shift for video because video is higher than audio on a timeline. Then use option with command which is lower on the keyboard like audio is lower on the timeline for moving the audio destination selections.

If you want the OPTION to jump straight to a specific track with your keyboard shortcut, use OPTION and the number of that track for video. For instance, I wanted to go directly to V3, so I hit option 3. And of course, if you need to disable a destination track, you can do that on V3 by hitting OPTION 3 again, and it will disable it so that a source clip will not edit to that track. It gets ignored.
You would add command to the option key with the audio track number for directly jumping to an audio destination, but this is broken in DaVinci Resolve 17.4.2, so we need to wait for the next patch to use this shortcut.