
Source J & L Cuts (split edit) in DaVinci Resolve
You might already know that you can make a cut feel invisible by doing a roll trim on the video portion of a clip by Option, click and dragging it AFTER it's already on the timeline. This way, the audio, and video don't change simultaneously, which can be jarring to a viewer.
So today, I want to show you a pretty advanced technique that you've maybe never used before, to independently mark in and out points for your video and audio BEFORE editing to the timeline.
Splitting the audio and video from the source can help save you precious editing time in DaVinci Resolve. Therefore let's learn how to create pre-lap, post-lap, J Cut, L Cut, split edit, whatever you want to call it BEFORE it even ends up on the timeline.
You've already seen a J Cut in the opening shot of this tutorial. It's when you hear something (like my voice) before you see it. In this case, it was my opening talking head. SOUND BEFORE PICTURE.
J Cuts are how we react to sound in real life. For example, if you hear a baby crying on the airplane, you'll turn your head to see it and find out how far away the baby is. They call them J cuts because of the shape it makes on the timeline. However, it's kind of more like a backwards L.
For reference, the commands I'm going over are found up and under the "mark menu" for "mark video and audio.

J Cut (Audio First)
First, move your playhead to the moment you want the sound to begin in the source viewer.
Now hold down command and Option with I for the in point. That's control Alt I on a PC.
This shortcut creates an audio-only in point, and you can see it has a green range instead of the usual grey range.
Green is for Audio.
Next, use JKL on the keyboard or your mouse to scrub the playhead to where you want to introduce the visual.
And just hold down Shift and Option (alt on pc) with "I" for a VIDEO ONLY in point. Shift Option I creates a blue range for video.
Now move later in the clip to find the out point.
You can mark it with a good old standard "O" for out-point on both the video and audio, so they end at the same time.

Finally, position the TIMELINE playhead down below for when you want the source clip sound to begin, click the overwrite edit icon, and there's your smooth J Cut!
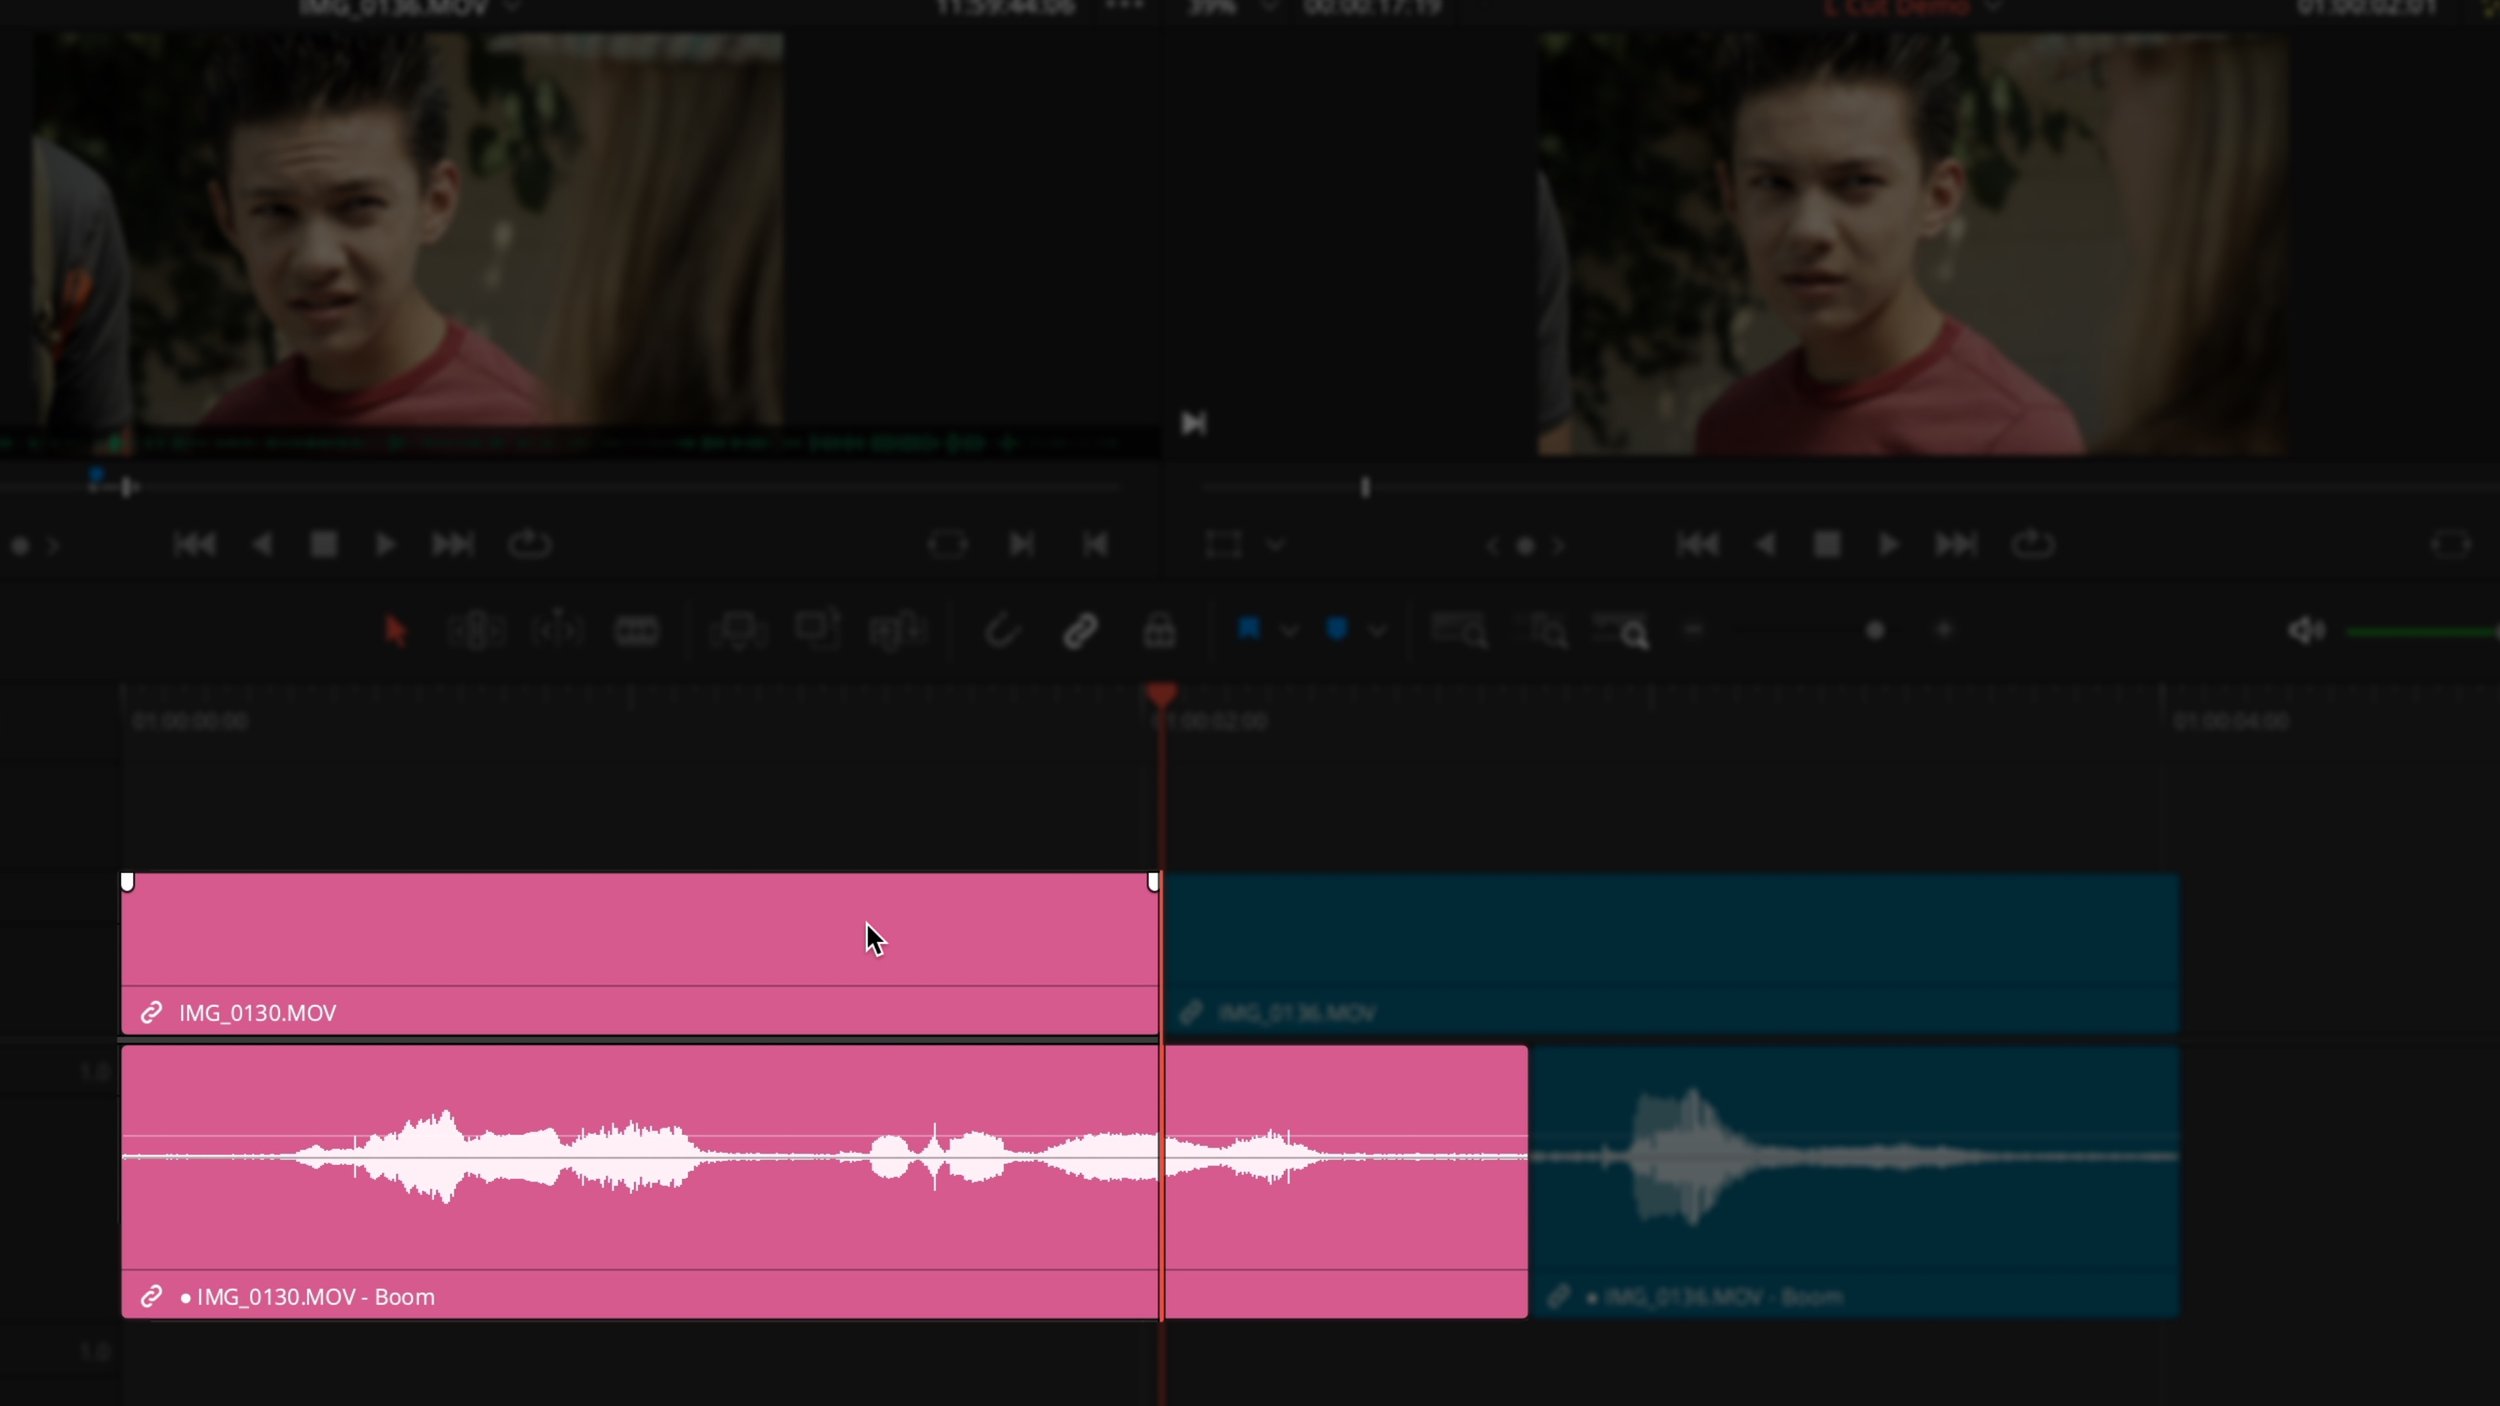
L Cut - (Video First)
L-Cuts are the perfect way to cut to a reaction shot in a dialogue scene or even for a b-roll cutaway. You probably already guessed it, but the name L-Cut comes from its shape on the timeline when the VIDEO COMES BEFORE THE SOUND.
To create an L-Cut in from the source monitor, clear your in and out marks if you have any with Option (alt on PC) and X.
Now just reverse the order of how we marked a clip for a J-Cut.
First, find your visual cue worth cutting to and hit Option SHIFT I (alt shift I on a pc) to mark the video only in point.
And scrub until there is some worthwhile audio and mark the audio-only in point with option command I (alt control I on a PC).
Mark the end of the clip segment with O for your out-point.
And let's kick our skill level up one notch by combining a tip from last week's tutorial on track destination selection to force the audio to A2 so you can checkerboard your audio tracks. Move your audio destination track down to A2 by either clicking it with your mouse to make it orange OR, better yet, use those same option command modifier keys for audio with the down arrow to target the lower audio track.
Move your timeline playhead where you want the visual cutaway to happen and this time, perform an overwrite edit with the shortcut key F10.